Showing posts with label quilting. Show all posts

Thursday, March 28, 2019

The Grandbaby's quilt

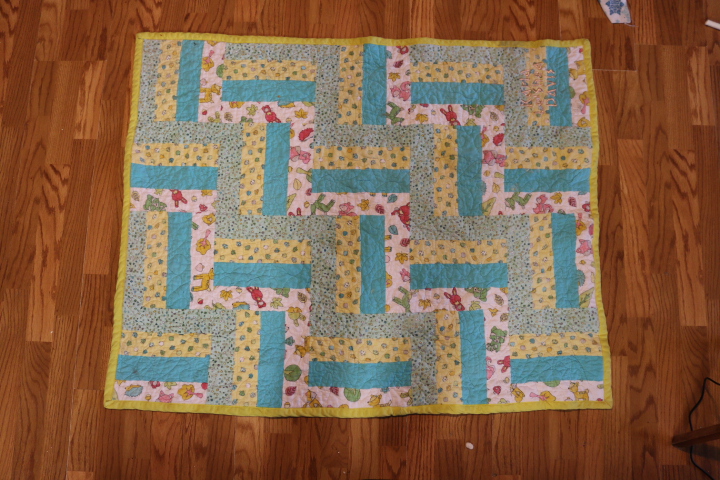
I've always really liked the rail fence quilt pattern for baby and children's quilts.  I made them for my girls and one of my nieces and since I was given free reign over design choice for the grandbaby, I made the rail fence for her, too.


It's high quality quilt fabric and this quilt has already been washed a great number of times and it's holding up well.  You might not be able to tell, but I also embroidered her name in rose gold in one of the corners. 

Sunday, December 2, 2018

Accuquilt

I've been eyeing the Accuquilt for a while, but I wasn't sure I would use it enough to make it worth it and it was so expensive, especially for the Go!Big which I would really need because of a few diagnoses that I have.  I have the impression that they are on sale only on Black Friday every year and my MIL had expressed interest in using it, too, and so I decided to finally get one and keep it at her house so that she could use it and I wouldn't have to worry about storage.  Win-win.

She received it on Friday and so I gathered some of my batiks together and dragged the family to the in-laws on Saturday so we could play.  Over the course of the day, we cut out six blocks.  It was slow because we didn't have any of it planned out in advance, but I brought home all the pieces we cut.  Today I sewed and pressed the blocks.   I sort of wish I had bought a bigger cube because it is going take a LOT of 6 inch blocks to make a decent size top.

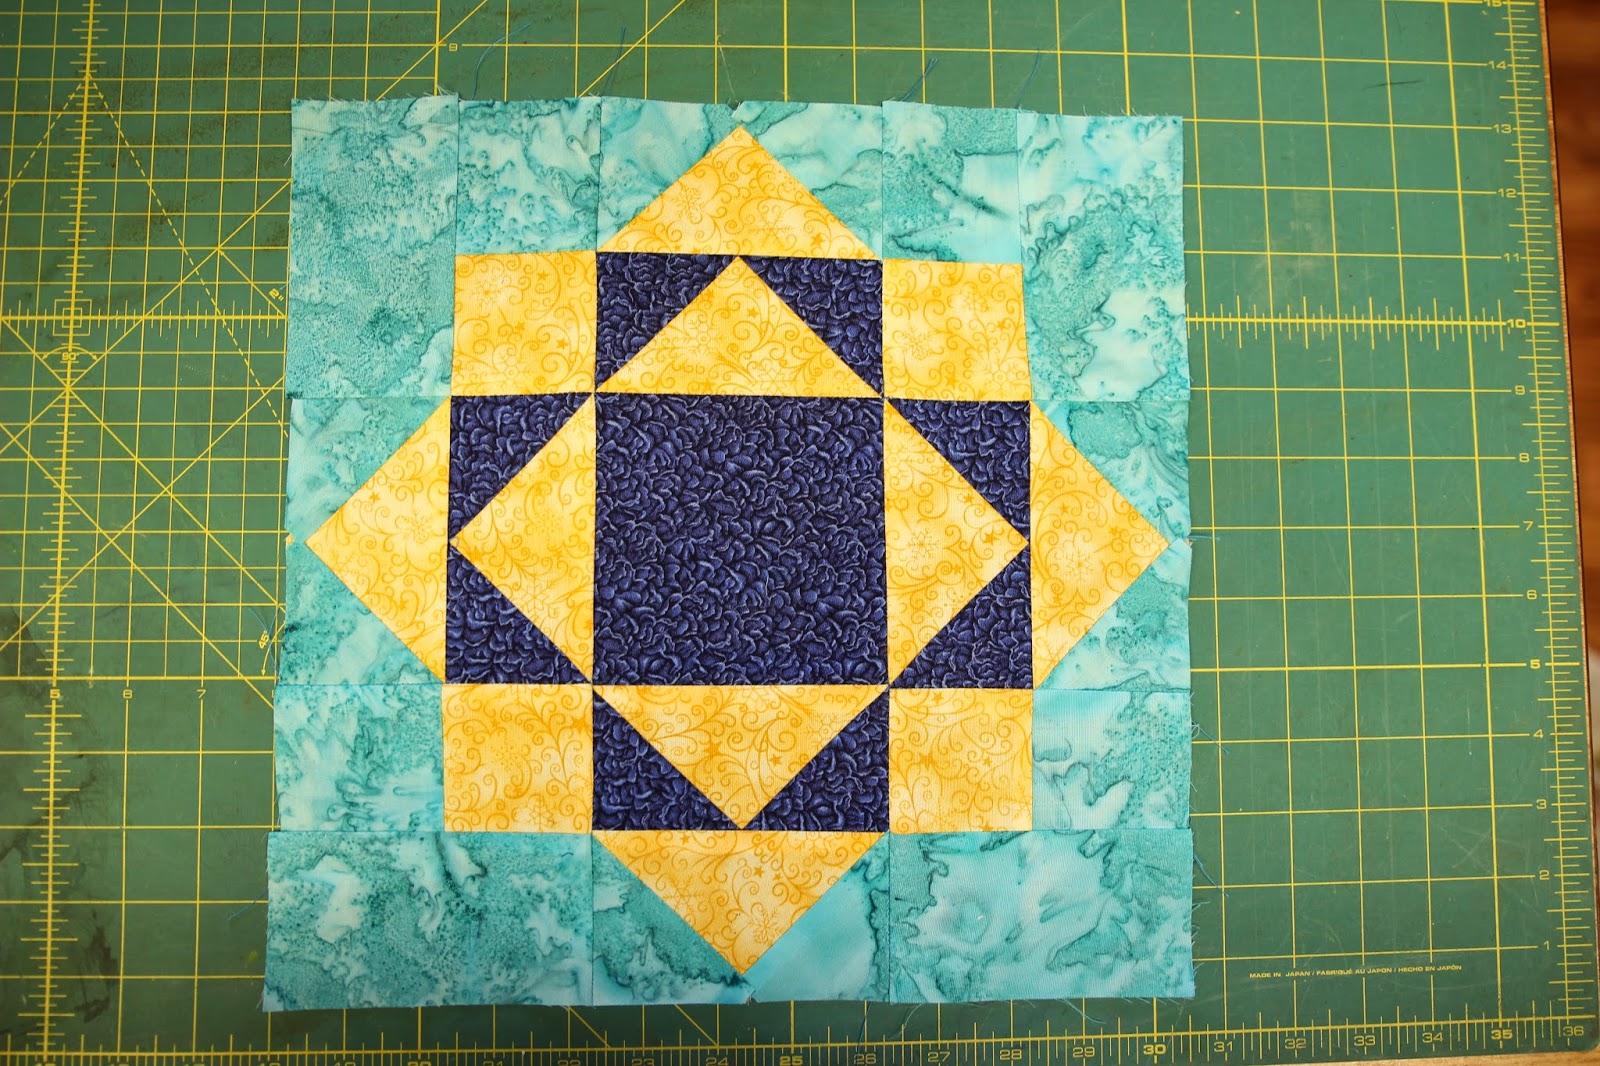
Anyway, here are the blocks lying on the fabric I intend to use for sashing. 


On the sewing front, I've finished another pair of the nerdlet's pants, and I plan on getting a pic to post when she wears them.

Saturday, April 9, 2016

Donation Quilt


This quilt was actually finished during Lent as part of my Lental promise/sacrifice.  It's to be donated to children's advocacy.  It's a simple quilt with a butterfly quilting pattern to match the butterflies in the black, blue, and yellow patterned fabric  It's bright and colorful and I hope some child loves it.

I actually haven't done much quilting lately.  I'm half diagnosed with psoriatic arthritis and probably getting the full diagnosis at my appointment on Monday.  The x-ray and MRI has confirmed arthritis, but I hadn't noticed any psoriasis outbreaks, but I've had three since my last appointment and the current outbreak covers both my lids, which is grossly uncomfortable.  My mother has psoriatic arthritis and it apparently has a large genetic component so this will likely complete the diagnosis.  I'm actually looking forward to the diagnosis because my mom says that the medication specific to psoriatic arthitis that is not used for the other types will make a big difference in how much pain and discomfort I have.

I have finished a cute long sleeved shirt that Kate has agreed to model tomorrow so I'll be posting after pictures.

Sunday, January 11, 2015

Globetrotting - Another Pat Sloan BOM

So after completing my two versions of Pat Sloan's current BOM, I started contemplating her last BOM for 2014, the Globetrotting Quilt.  Being the person I am, I went ahead and put off sewing the stack of shirts for Q that I already cut out and completed the first BOM for the Globetrotting Quilt.

First I'd like to show you my stack of fabrics.

So I based these colors off of the blue fabric second from the top.  I made this into a dress a year and a half ago for my girls.  I love this fabric and likely I will take the dress apart and use the fabric in something else when it becomes too small for the bear cub.  Because I love it so much I tried to figure how it could be best used in the quilt with so little of left (without cutting up the dress).

So I decided to use it as the center of the center block.

I know that it is really, really loud, but I still like it.  I've put away all the extra fabric so that I will at least make one of the shirts I have planned for Q before I start working on more of the blocks.

Saturday, January 10, 2015

Another Vacation Block

I belong to a facebook group by Pat Sloan, the quilter that is doing the block of the month that I just made in my last post.  One of the members, Melinda Pulling-Goodernote, made this beautiful block and posted it in the group last night.  I like it so much that I decided to make it myself.  I especially liked that it is open to paper piecing.


This is the paper pattern that I drew up immediately after seeing it.  I made one of the long middle piece, 2 of the flying geese combo, and 4 of the squares.

I had already started considering making another quilt using the BOM and had picked out these fabrics for it.

The center long piece

All the pieces.

The center and two sides.


And the completed 12.5" block.  I really love the way paper piecing gives you perfect corners.

Thank you so much, Melinda Pulling-Goodernote, for making and sharing this beautiful block.

Saturday, January 3, 2015

Pat Sloan's 2015 Vacation Time BOM Block 1

I decided to do my first block of the month quilt.  It is Pat Sloan's 2015 Vacation Time block of the month quilt.  I sort of wanted to use Pat Sloan's fabric but by the time I decided to purchase them, none of the stores online had them all and I didn't want to make a huge string of purchases, so I decided to buy other fabrics locally.  I chose colors based on the nerdlet's current preference for all things that are blue and pink.  I purchased the fabrics today.


This pic is missing two fat quarters that I bought - one blue and one green, and I have already swapped the darkest blue for a slightly lighter blue from my stash.

I already finished the first block.

I cut the fabrics without any regard to direction and I modified her pattern so that all the squares were one piece instead of multiple pieces.  So far I am resisting the temptation to redo the block to turn the pink and the floral so that they are all pointed the same way and to be more particular about my corners.  Right now, I am thinking that I won't redo it but that I will pay more attention during the rest of the blocks.

Sunday, June 1, 2014

Matching Threads

How much do you stress about picking a thread to sew or quilt with?  Do you preview what you are going to use?


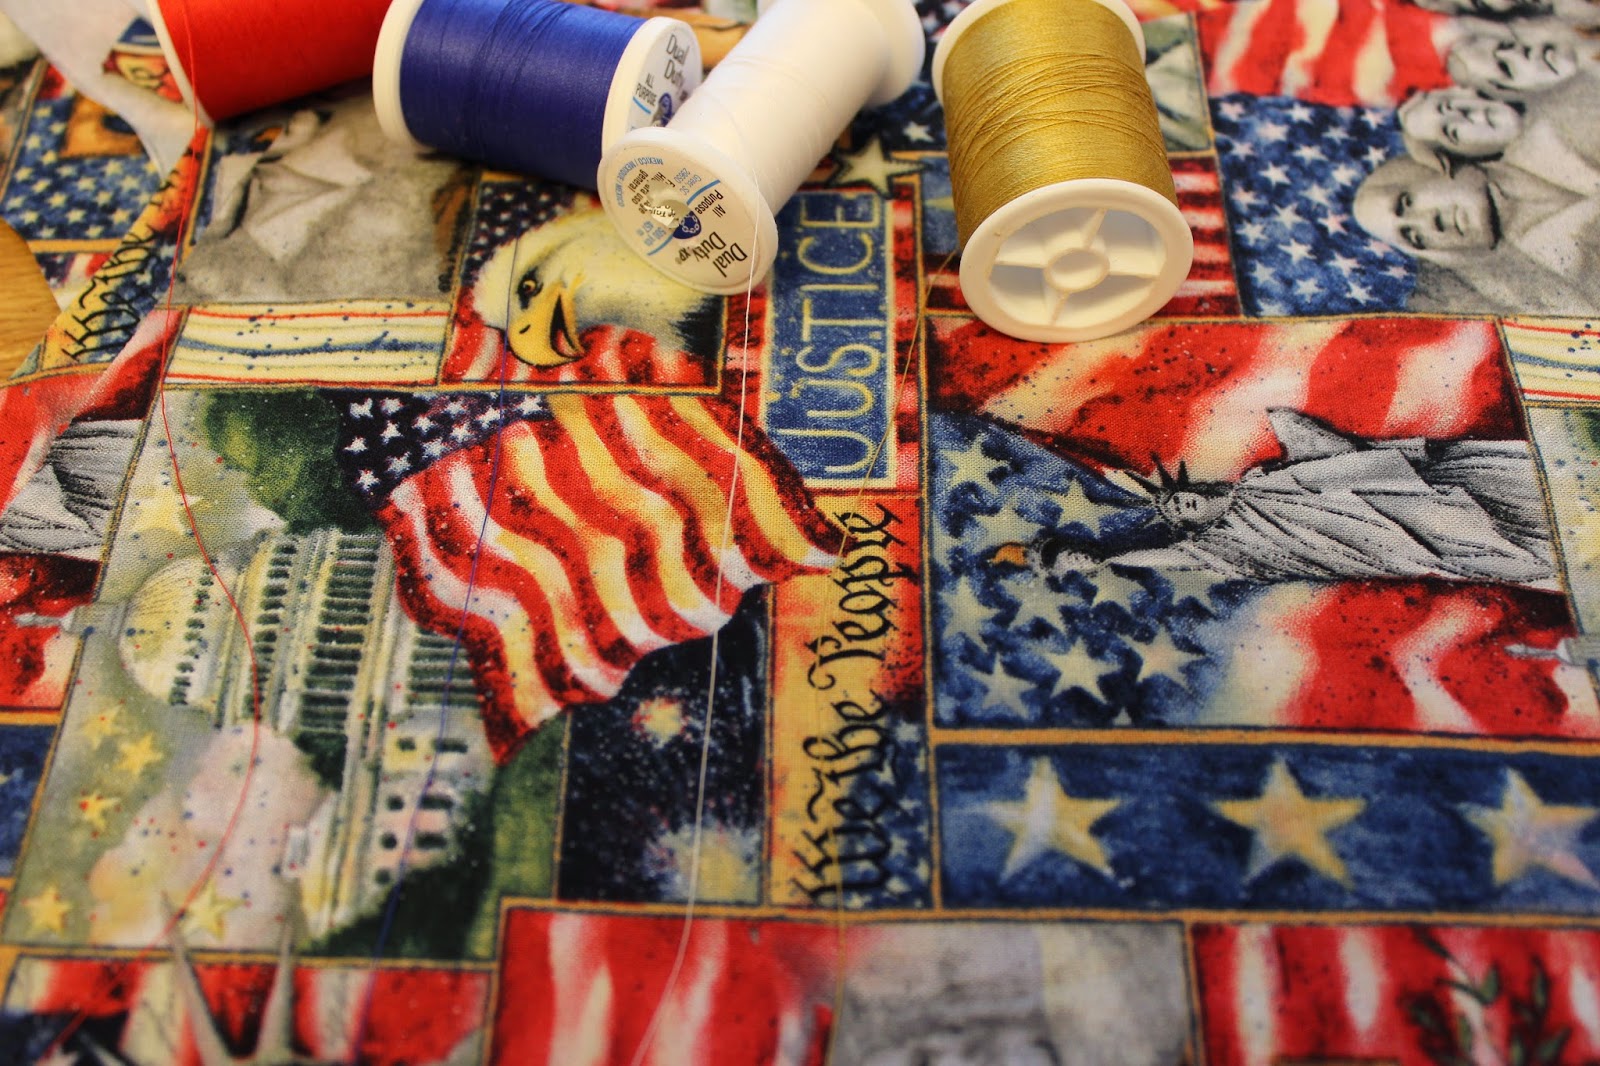
If you click on the picture to blow it up, you will see the gold works the best for blending.  This is a shirt for Q, and I was going to do the blue until I previewed it and have since decided on the red.  When I first started sewing, I chose the closest blending color, but now I often choose a color to show off the topstitching.  For piecing a quilt top, I don't really care what color I use as long as it doesn't call attention to itself and will often choose gray.  For quilting the top, it depends on whether or not I want the quilting to disappear into the top to show off the quilt or to call attention to itself.  Sometimes I will chose a color that pulls the whole quilt together if it needs that.

Tuesday, May 20, 2014

Broken Lone Star Quilt - Part 5

I finished the main part of the broken lone star top and am now considering borders.  Don't ask me if I'm tired of Y seams.  If you consider making this quilt, be aware that after the diamonds are together, pretty much all that is left is Y seams.
I'm leaning towards the one on the right.  I wanted to do the inner border in the light sea green, but I didn't have enough myself and the quilt store didn't have a match (though they did have one darker).

After I add the border, I still have to clean around my quilting machine as I have stashed a number of boxes in my studio that will need to be removed before I can work in there.

This is as much of a preview as I'm willing to give you. I sewed the star in the middle and then each of the eight squares around the center.  I sewed the remaining diamond blocks into leaves of threes and then these leaves to two of the squares.  After that all that is left is the remaining blocks and triangles around the outside and the borders, which is where I am currently.

I thought that I would give you a couple of hints on putting the diamond strips together.

First, pay attention to which way you are sewing on the strips.  Luckily, I only had to undo 3 of these.


Secondly, I match up points by dragging my fingernail over the seam of the bottom layer so that it shows a small dent on the top layer.  Then I sew through that point to make sure the tips meet.

You see here that I don't always line up perfectly.  If that happens, it is fixable.
 I turn it back over and sew another seam line just over the last.
 Then when I open it, it is a perfect point again.  One thing to note is sometimes the direction you press the seam allowances on the bottom will make a difference in how perfect the point is.


Sunday, May 18, 2014

Another Pile of my MIL's UFOs

So not too long ago (maybe two months) my MIL brought me another bag of unfinished dresses for me to complete.  I suspect that these were actually intended once upon a time for my niece, the drama princess, but now they are much too small for her and possibly even too small for my smallest, which is now the bear cub and not Darth Monkey.  I know the first one was meant for my niece because we have one similar and when I bought the fabric for the nerdlet, my MIL went back later for some more when my SIL decided she liked it.  

It does have a lighter piece on the bodice which is clearly a dying irregularity, but looks like a bleach stain in the picture.  I may take a red permanent marker (or light purple) and fill it in so that it looks more like the rest.  This one will fit the nerdlet right now and is probably a size 5.

My confession is that when finishing these dresses I was too lazy to change off the yellow thread from my serger so all the insides have yellow seams.  I was actually surprised that the seams weren't finished because my MIL is normally was better than I am about finishing the seams as she goes.

This orange one is going to be too small for any of my girls except the bear cub, and maybe too small for her.  I will be sad if it goes straight to donation.

This one will fit the bear cub now.  I think it's a size 3 too, but it's an inch or so longer than the orange.

This one should fit both the bear cub and Darth Monkey.  This fabric is loud and busy and I didn't really care for it when it was bought, but my girls love it.

One of my facebook friends, owner of SavyGirl Design Studio, recently created a paper pieces wonky block and then a quilt out of that block that I just love.  She titled it Interlace Nuance.  After you go check it out, come back and see what seeing her work and working on my lone star inspired me to make.  While it isn't what I had in my head and I didn't finish but the bottom two points, I like it.  I'll draw up another with wonky strips instead of points, but I may end up enlarging this one and using it as is.


Saturday, May 17, 2014

Ottobre 01/2004 25 and 28 (Funny Faces and Neon Stripes)

Q took the girls to visit my mom so that I could work on my broken lone star quilt but as I have to wait to buy the background and backing tomorrow, I had some time to work on some Ottobre patterns I had planned.

The first is Ottobre 01/2004-25, Funny Faces, which I made to be a little bumblebee dress.  This was the first time that I worked with ruffled knit fabric.  Working with the ruffled knit, rayon knit, and clear elastic turned out to be a bit much for me so I ditched the clear elastic.
It's a straight size 104 and I think that was a mistake as it looks like it will likely be really wide on any of my girls and a little short on the nerdlet.  I'll take pics when I have the girls back to try it on them.  I know regardless of the fit that Darth Child is going to love it.  The other thing about this is that they will have to wear shorts under it as that black is very see through so I'll be making shorts in yellow and black in the very near future (or maybe just short leggings).

The other Ottobre pattern that I finished is Ottobre 01/2014-28, Neon Stripes.  I used a favorite knit of the nerdlet.  This is a straight size 110 which is the smallest size of the pattern.
I really don't have any idea of how this will fit her, but it is an easy t-shirt to make so if she likes it, I can see making a bunch.

And because I'm not quite off the quilting idea, this is another broken lone star quilt that I'm planning.

The top seven would be the diamonds in the star with my replacing the solid yellow with a tone on tone yellow batik and the black on the bottom would be the background.  I'm going to see if I can find an orange I like better to replace the third fabric from the left, too, but I'm okay with using that one, if nothing suits me better.

Broken Lone Star Quilt - Part 4

I finished the 32 blocks of my lone star quilt.  Tomorrow I will go buy the fabric for the background and backing (and possibly a border and binding, too).

Before I show you the pics, I'm going to list the fabric requirements for just the lone star.  This star is a 58" square as I've laid it out. For my colors, I'll list them a to g going from the center outward.
a (medium purple) - 2 3/4" (so buy 1/8 yard)
b (purple and blue) -  5 1/2" (so buy 1/4 yard)
c (lavender and blue) - 8 1/4" (so buy 1/4 yard)
d (light blue on dark blue) - 11" (so buy 3/8 yard)
e (light sea green) - 8 1/4" (so buy 1/4 yard)
f (dark lavender and light blue swirl) - 5 1/2" (so buy 1/4 yard)
g (dark purple) - 2 3/4" (so buy 1/8 yard)

For the broken lone star that I plan on making, the fabric requirements are quite a bit higher. I have my camera at the ceiling and this is as much as I could get in the picture.  Once it's all together on a background, I'll take it outside for a pic.
You're going from 8 blocks to 32 so really it's just 4 times the fabric
a (medium purple) - 11" (so buy 1/3 yard)
b (purple and blue) -  22" (so buy 5/8 yard)
c (lavender and blue) - 33" (so buy 1 yard)
d (light blue on dark blue) - 44" (so buy 1 3/8 yard)
e (light sea green) - 33" (so buy 1 yard)
f (dark lavender and light blue swirl) - 22" (so buy 5/8 yard)
g (dark purple) - 11" (so buy 1/3 yard)
background - 2 7/8 yard (Six 12.5 inch strips and Two 13 inch strips for the 20 squares and 4 triangles.  One of the 13 inch strips will be for two of the triangles and two of the 12.5" squares).

These amounts assume precision cuts by you and the employee cutting your fabric at the store and no mistakes. You will also need more for whatever border or binding you need.

Last night as I was drifting off to sleep, I was thinking about all the ways I could arrange my diamonds.  I thought I would share some of them.

 First just make the star bigger.  This is all 32 blocks just turning each diamond into a bigger diamond.

 This is only 16 blocks and I think would work better for blocks that used the same fabrics for a & g, b & f, and c & e.

This is with the blocks overlapped, so to do this I would have to take out one each of the blocks to join them.

This one uses 24 blocks and I think I meant to have the dark purple in the center of all the half stars.

This could be really interesting depending on what fabric was used to separate the diamonds.

I ran out of diamonds for this but I think it would be super cool with another 5 blocks.

I this was just one corner of a square it could lead to some really interesting quilting coming out of it.

You could also make a quilt of the four smaller lone stars just as big blocks to make the quilt, but I didn't lay that one out.  I had other ideas last night in bed, but I got tired of laying them out and really these were the most fun.
Monday, May 12, 2014

Broken Lone Star Quilt - Part 3

As I was up this morning at 3:30 am to tend to one of my sick daughters, Darth Baby decided to take the opportunity to climb into my spot in bed.  I decided against moving her because if she woke up completely I was done for the night.  Instead I tried to sleep beside her and was unsuccessful, so I ended up back downstairs working on the quilt some more.

I finished another seven blocks.  Here they are laid out but not sewn together.

Luckily, there is a 25% off batiks sale at the Quilt Haus next Sunday so I can go an buy the background for this then.  I'm also thinking that I want a broken lonestar in yellows, oranges, and reds on a black background so I may buy those then, too.

Sunday, May 11, 2014

Broken Lone Star Quilt - Part 2

So I've progress a bit on my broken lone star quilt (which I haven't named yet), and I thought I would elaborate a little on how I'm doing it as I'm trying to strip piece as much as possible.  First I cut the strips into 2.75" (2 3/4 inches) and assembled them according to my chart I made.  

I laid out the first strip right side up on a straight line with the corner at a 45 degree angle (the ruler is directly on a 45° line).

Then I laid the next strip on top right side down just to the side of where the 45° was going to end up and sewed them together.  I did this because I was going to try to squeeze an extra diamond out of each set of strips.  This turned out not to work and I'll have to make an extra set of each strip tomorrow so I will just sew them 2 1/2" down from the last for each strip in the future.

Then I finger pressed the strip open.
 And laid the next strip right sides together another 2 1/2" down and sewed them together.
 After opening and finger pressing, I did the same with the last strip of each set.

Here is what the end of each set looked like.  After I had all the sets, I pressed them with the iron that thankfully Darth Baby did not break when she decided to immerse it in water and apparently pretend it was a boat.

I cut the strip set at the 45° angle.  Then I lined up the 45° angle on the ruler and the width of 2.75" (again 2 3/4 inches) and sliced across with my rotary cutter.

After doing this through all the stacks, you will get a nice arrangement like this.

Then you just take one from each pile, sew them together, and press.  For my quilt top, I need 32 of these to arrange, and as I was hoping to get 11 from each strip set, which did not happen I still have a number of strip sets to make.
I wish I had turned it to be even, with the marks on the grid, but I think you can see that it is.  I was originally planning to put this on a white background, but I think I'll take one of these to the quilt store and preview it to pick a background fabric.

Also because I have been asked before, I'll post a pic of the back.