I finished the 18D for our babysitter that I made that was a little snug for me to wear in public. Ideally, I think her size would be a 18C or more likely a 16D, but I didn't actually measure her. I finished the bodice because I didn't want to waste the bodice and I had enough fabric for another collar, sleeves, and cuffs, and I thought it would be fairly close to her size. This is the same fabric as my previous shirt, but the pictures are better and you can see the fabric better.


Nice, huh? My first thought was to just make the shirt sleeveless and just finish the arm openings, but I decided that I really wanted to finish the shirt with the sleeves. At that point, I could either use a different fabric for the sleeves or I could patch the sleeve. I decided to patch it. So I'm going to show you how I did that.
First, I found a scrap slightly larger than my hole.

Normally I would interface the area, but I didn't want the sleeve to be stiff and uncomfortable. I tried to match up the grain and pattern, not because it shows because it doesn't, but so that the sleeve would still move naturally. I sewed it very close (about 1/16 of an inch) to the cut.

Then I trimmed the inside of the sleeve close to my stitching.

I put the machine on a short, wide zigzag stitch.

I zigzagged over all the stiches and trimmed the sleeve to be the same size as before I butchered it.

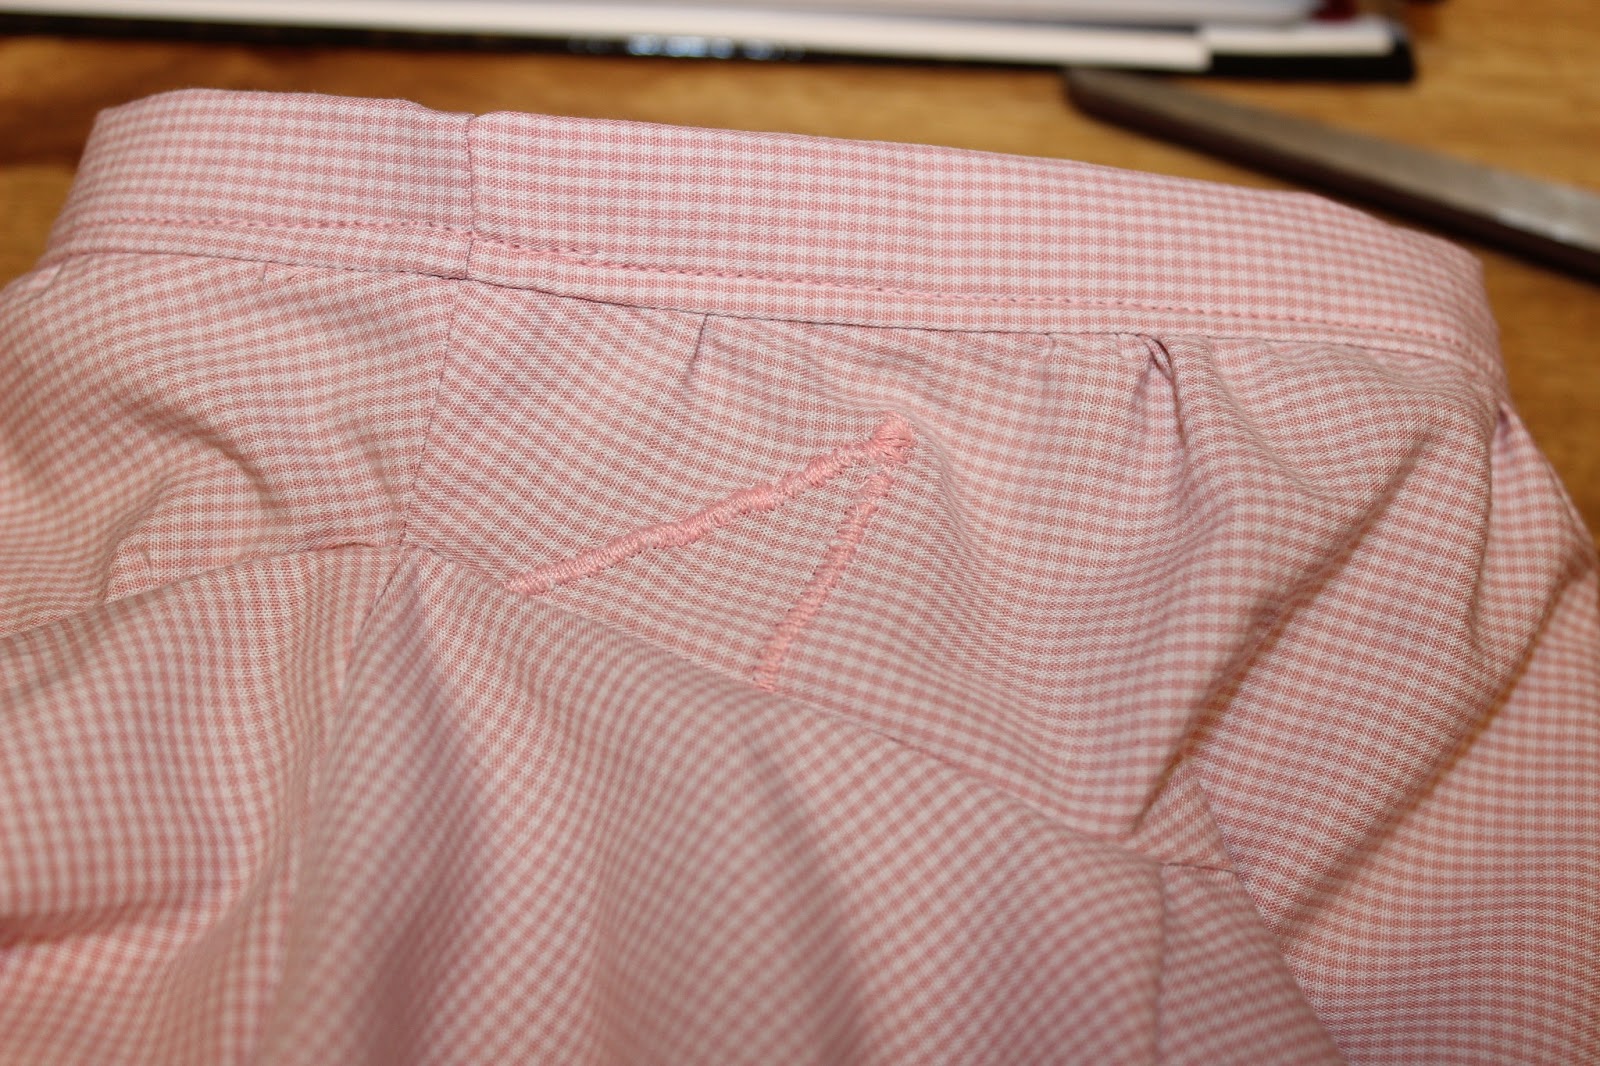
Here is what it looks like sewn in.
And how it sits when on. It cannot be seen when her arm is down.

No comments:
Post a Comment