Saturday, March 30, 2013

McCall's 2149 The Star Wars Version

In my last post, I said that would be the last man's shirt that I would make for a while, but I was clearly wrong.  I went shopping for patterns because of the pattern sales and whenever my MIL and I hit Hancock's and Jo-Ann's we always go to the Creative Sewing Center to look at quilting fabrics, too.  While there I found this Star Wars fabric (by Eugene Textiles) that was screaming to be made into a shirt for Q and so I left with some - what was left on the bolt was almost exactly what I needed for the shirt.  So I ended up coming home and cutting this one and three others at the same time.  I currently have the collars and facing for the other three versions done, so I'll have at least one more post on this pattern when I finish them.  There is a Star Wars fabric that is the blueprints for the Death Star and the Millenium Falcon that I'd also love to get my hands on that would result in my making another shirt.  I also bought three more shirt patterns for men, but I don't feel the need to try them out right away.  This pattern is ideal for fabrics like this since you don't have extra seams taking away from the artwork.

Here is the shirt:


I did have a small issue with the buttons that I chose, because they are rounded at the top and the sewing machine foot kept pushing them out.  I had to use my finger to hold them onto the foot while it sewed them on.

I had a hard time picking out buttons for the shirts because I wasn't sure what was standard as I haven't really paid much attention to the buttons on men's shirts and I was afraid of picking something that would look off.  I like the ones I chose, but I just know that I'm going to be examining the buttons on shirts now - like I don't have enough quirks already.

Tuesday, March 26, 2013

McCall's 2149 Part 2

I finished Q's shirt, but before I share the pictures, I'd like to post what his current dress shirts that fit him look like.  These are the smaller versions.  The larger ones are much worse.  This is actually his favorite dress shirt and the one he wears most.

Here is the finished McCall's 2149 and while it isn't perfect, I'm so very happy with it.

I actually used pins while making this shirt, which is something that I rarely do.  There is no puckering anywhere.  While there are still a few wrinkles, I don't think it is appropriate to add seams in a man's shirts, though I do think I'll look for other designs during the upcoming pattern sales.  

I'm even going to post a few pictures of the inside, even though I don't normally do that because I used a technique that I've seen on a few blogs that I found to be very nice.  That technique is basically sewing the interfacing to the facing piece before flipping it to the wrong side and attaching it, which gives it a very nice edge on the inside.


In this last picture I'm flipping the facing piece up so that you can see the edge of the interfacing that is attached.  

I really like it and I think Q does too.  I have a version planned in a knit fabric for him, but I'm not sure when I'll get to it as I have quite a large list of things I want to get done first.

Monday, March 25, 2013

McCall's 2149

I'm making my first man's button down shirt.  My husband has a unique shape and I've thought about making him one for a long time, but I've always focused on the girls or myself, unless it was Renaissance Festival Costumes.  It became clear recently that none of his dress shirts fit him well at all, and our family is overdue for a group picture so I decided to make him one that I could coordinate all of our outfits with for an upcoming picture.

I chose McCall's 2149 this past week at the Hancock's pattern sale.  It' fairly simple as far as a shirt can be that is button down and has a collar.  I chose a purple seersucker from the Tutti Frutti line (don't tell him that though).  It's a cheap fabric that won't last long, but I figured that this is sort of a muslin.  I'm making a medium and graded out an extra four inches at waist level and further at the hips.  From the finished measurements the pattern gives, this should give him at least 3 inches of ease around his torso at all points and an inch of ease around his arms, but I'm a little worried at the point that I am that it will be tight around his waist and hips.  I told him that it will fit him even if I have to put him on an extreme diet.

Anyway, this is what it looks like so far and I'm pretty pleased. I'm hoping to finish it in the next few days.

Wednesday, March 6, 2013

Spread the Word

Spread the word to end the word.

My previous post on this subject can be found here.

Saturday, March 2, 2013

Clothing Remake

I've been remaking clothing.  A number of the outfits that the girls wear a lot are permanently stained or have holes or other issues.  I'm sharing two of these with you.

Both of these dresses have been through multiple children and were well worn and well loved.
 This was a dress my MIL made and the zipper finally gave out.

This dress had chocolate milk and spaghetti sauce stains that I just could not get out.

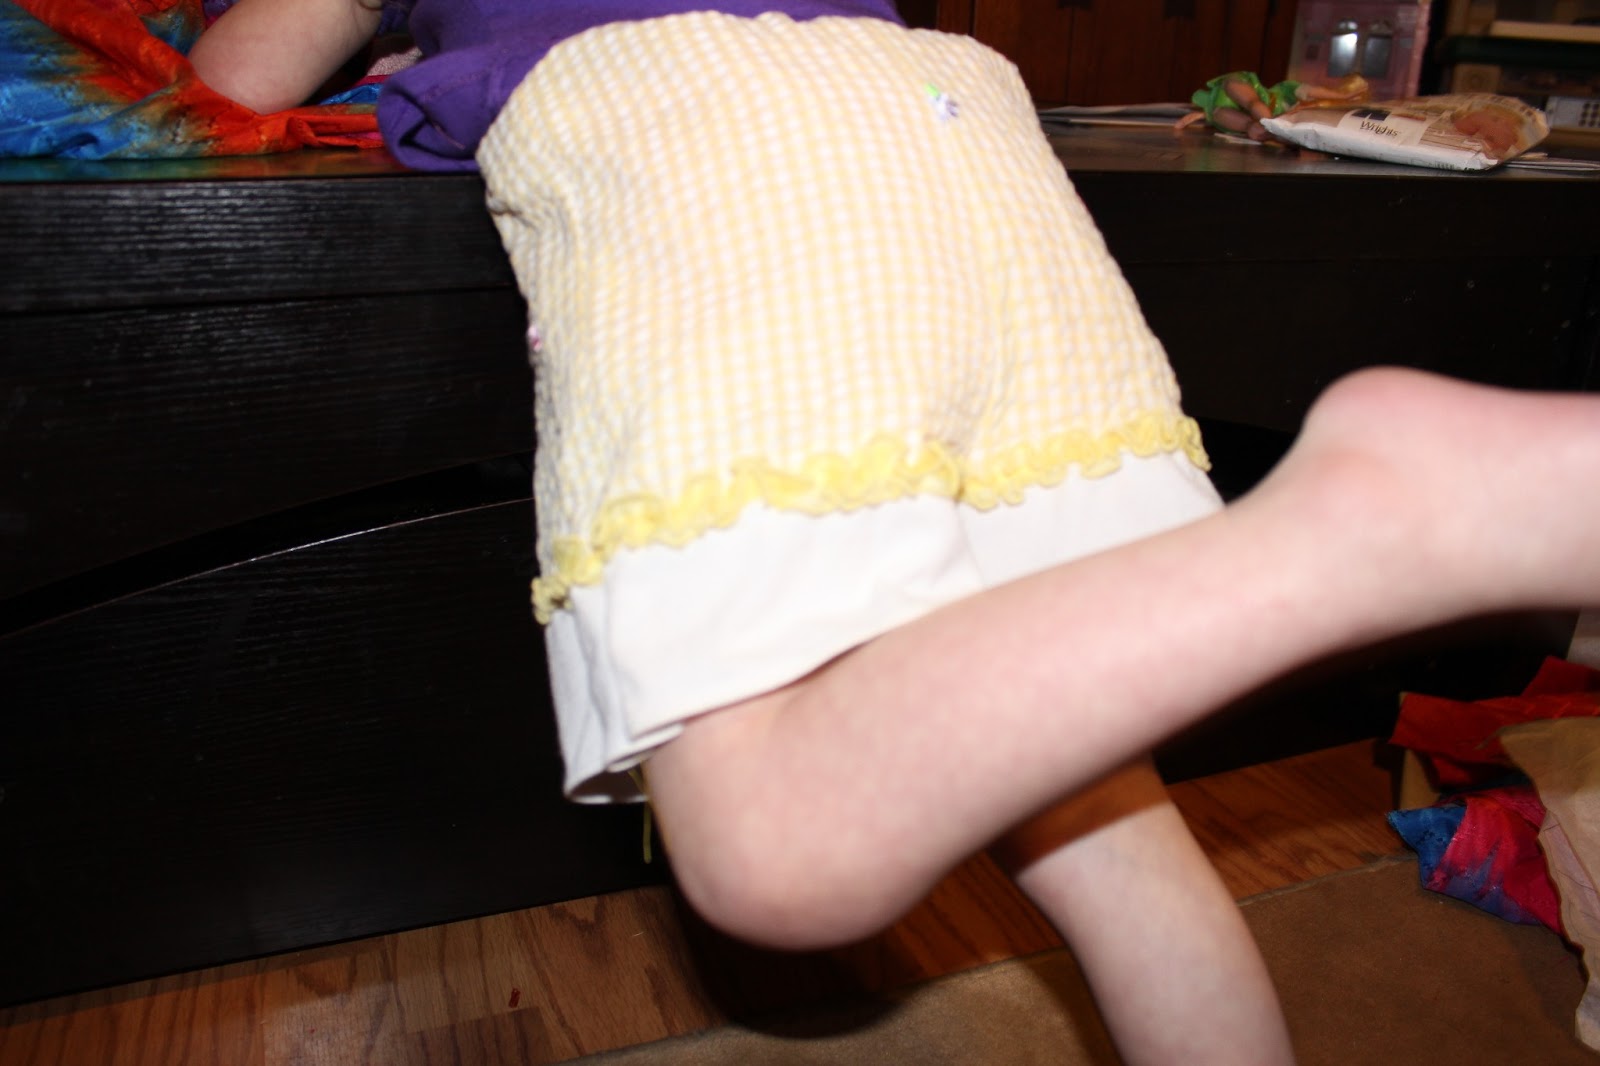
The yellow dress I turned into a pair of shorts.  I simply cut the skirt from the top and placed the pattern pieces to avoid the stains.  I used Simplicity 5982 pattern for shorts with a width of size 6 months and a length of size 3.  I think they will fit all three of my girls and hopefully aren't too cutesy for the nerdlet to wear them since she is five.


The polkadot dress, I cut the skirt off the bodice and around the zipper.  Then I serged up the zipper side.

The I turned it so that the right side of the skirt was turned upside down and facing the right side of a pair of pre-made knee-high leggings of the nerdlet.

 Then I simply sewed around evenly from the top.  I briefly thought about pinning and decided against it.  I simply matched the front and side seams and stretched to fit as I sewed.

The finished product would have probably been more impressive if I had decided to iron out the hem.

I only have the bear cub with me right now so she got to model them for me.