
Anyway, I figured I might as well do a tutorial. It's a pretty simple project and great for a beginning sewer. I googled napkin sizes and there doesn't seem to be a standard size. They range from 15 inches squared to 21 inches squared. I made mine 16 inches squared because I bought a yard of each fabric and you can get four napkins to a yard. You'll want to buy two inches longer (and make sure you don't get shorted even a little bit) for each two you wish to make.
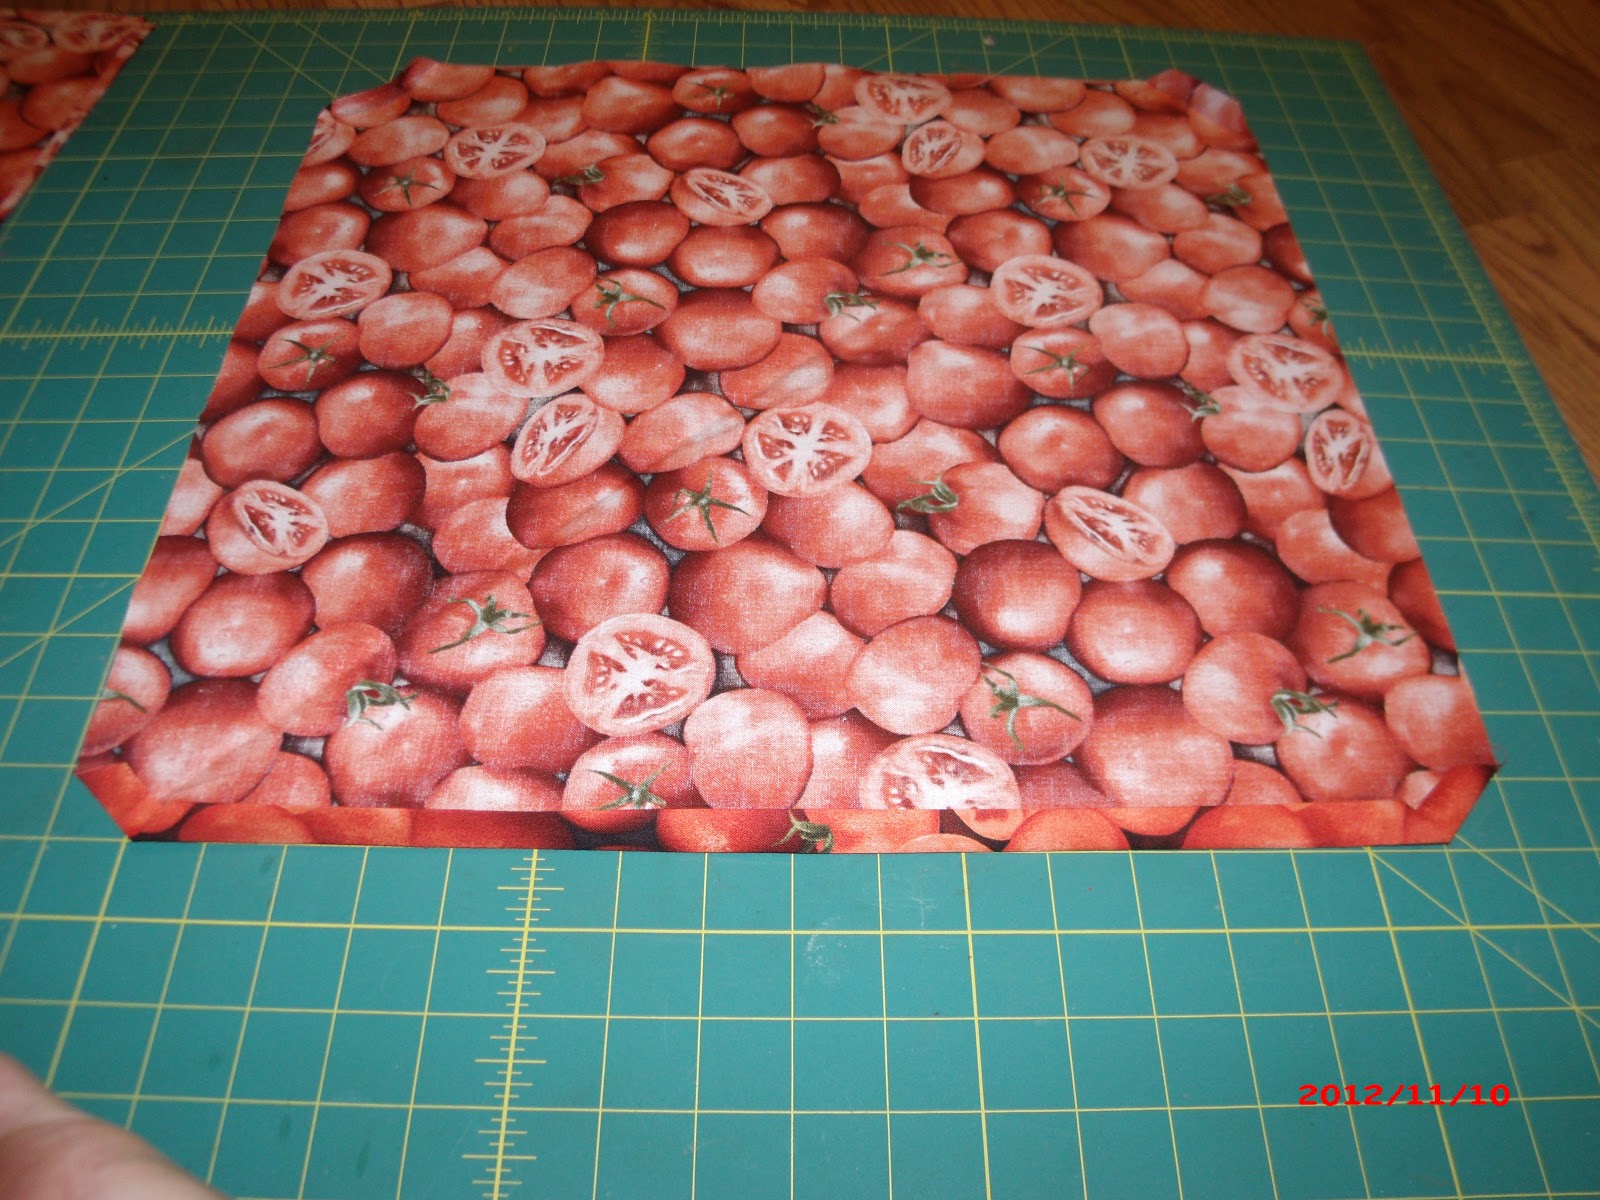
Cut your fabric into perfect squares two inches larger than your desired napkin size. For mine this was 18 inches. Then fold over the corners two inches from the end.

Unfold and cut off the corner, leaving about 1/2 inch from the fold.

Then fold back up and press. Do this on all four sides.

Then fold up 1/2 inch the length of the square and press. I'll let you in on my secret press method here. I use the finger nail press system here.


Then fold up 1/2 inch of fabric again so that the cut edge is inside the second fold and press.

Do this on all four sides.

Here's another secret. I don't bother to pin these at all. Here is the corner with both sides folded over twice.

I start on the corner and stitch a few stitches and then backstitch and forward again. I'm sewing 1/16 of an inch from the fold.


When I get to the corner, I stop the needle exactly between the two sides in the corner crease.

Lift the foot, turn, and sew on, again 1/16 inch from the edge.

Sew this way all the way around, backstitch at the end and cut the fabric.


Then I sew again 1/16 an inch from the edge. At the corners, I'm actually 1/8 inch from the edge. This is to keep my corner from getting sucked into the machine. I also angle the fabric slightly like you see in the picture for 2-3 stitches for the same reason. Then I turn the fabric back to straight and 1/16 inch from the edge.

This is what you see after it is stitched, in case you are worried about what the weird turning will make it look like. You have to strain to even see what I did.

Again I sew all the way around this way. Moving to the 1/8 inch mark at each corner and back out to 1/16 inch at the sides. Another way to prevent the machine from taking the corners in is to put tissue paper (or medical table paper, which is what I use for this sort of thing and also pattern tracing) under the corners while you sew.

And a picture of the other side. The reason for the difference in color is lack of flash.

A fuzzy picture of all the napkins I made, washed and ironed. I'm considering going back for one of these fabrics and making placemats, potholders, and curtains to match.

No comments:
Post a Comment