I got a note in the bear cub's backpack saying that this past week was Teacher Appreciation week and telling us what we could do to show our appreciation that week. It also listed their favorite colors, snacks, and drinks. I decided to make them bags and spent last weekend making them. I actually finished them Tuesday night and they went with the bear cub to school Wednesday this past week. Two of these are actually for the nerdlet's teachers, but the bear cub has six teachers. There is the main classroom teacher, the special education teacher, the speech therapist (the only therapy the bear cub gets is speech), and three aides. I can't really express how pleased I am with how much care and attention that they give the bear cub and how well she is doing so I felt that this was more heart felt than sending a soda one day and a candy bar another. These are the bags.

I also took a bunch of pictures so that I could post a tutorial. I think this is about as easy as you can get for a lined, reversible bag and I'd love to know how if you think you can do it with fewer seams.
I use the leftover ends for the handles shooting for two pieces as close to 4 x 18 inches as I can.


Now onto the bag itself. Fold them both in half and sew the bag pieces 1/2 inch from the edge along the length so that your two pieces now measure 18 x 17 1/2 inches and 18 x 21 inches.

On the longer piece, cut out 5 1/2 inch squares from the seam and the bottom fold on each side (so the rectangle is actually 5 1/2 x 6 inches).


From the other piece, cut out 2 inch squares from the seam and the bottom fold on each side (so the rectangle is actually 2 1/2 x 2 inches).

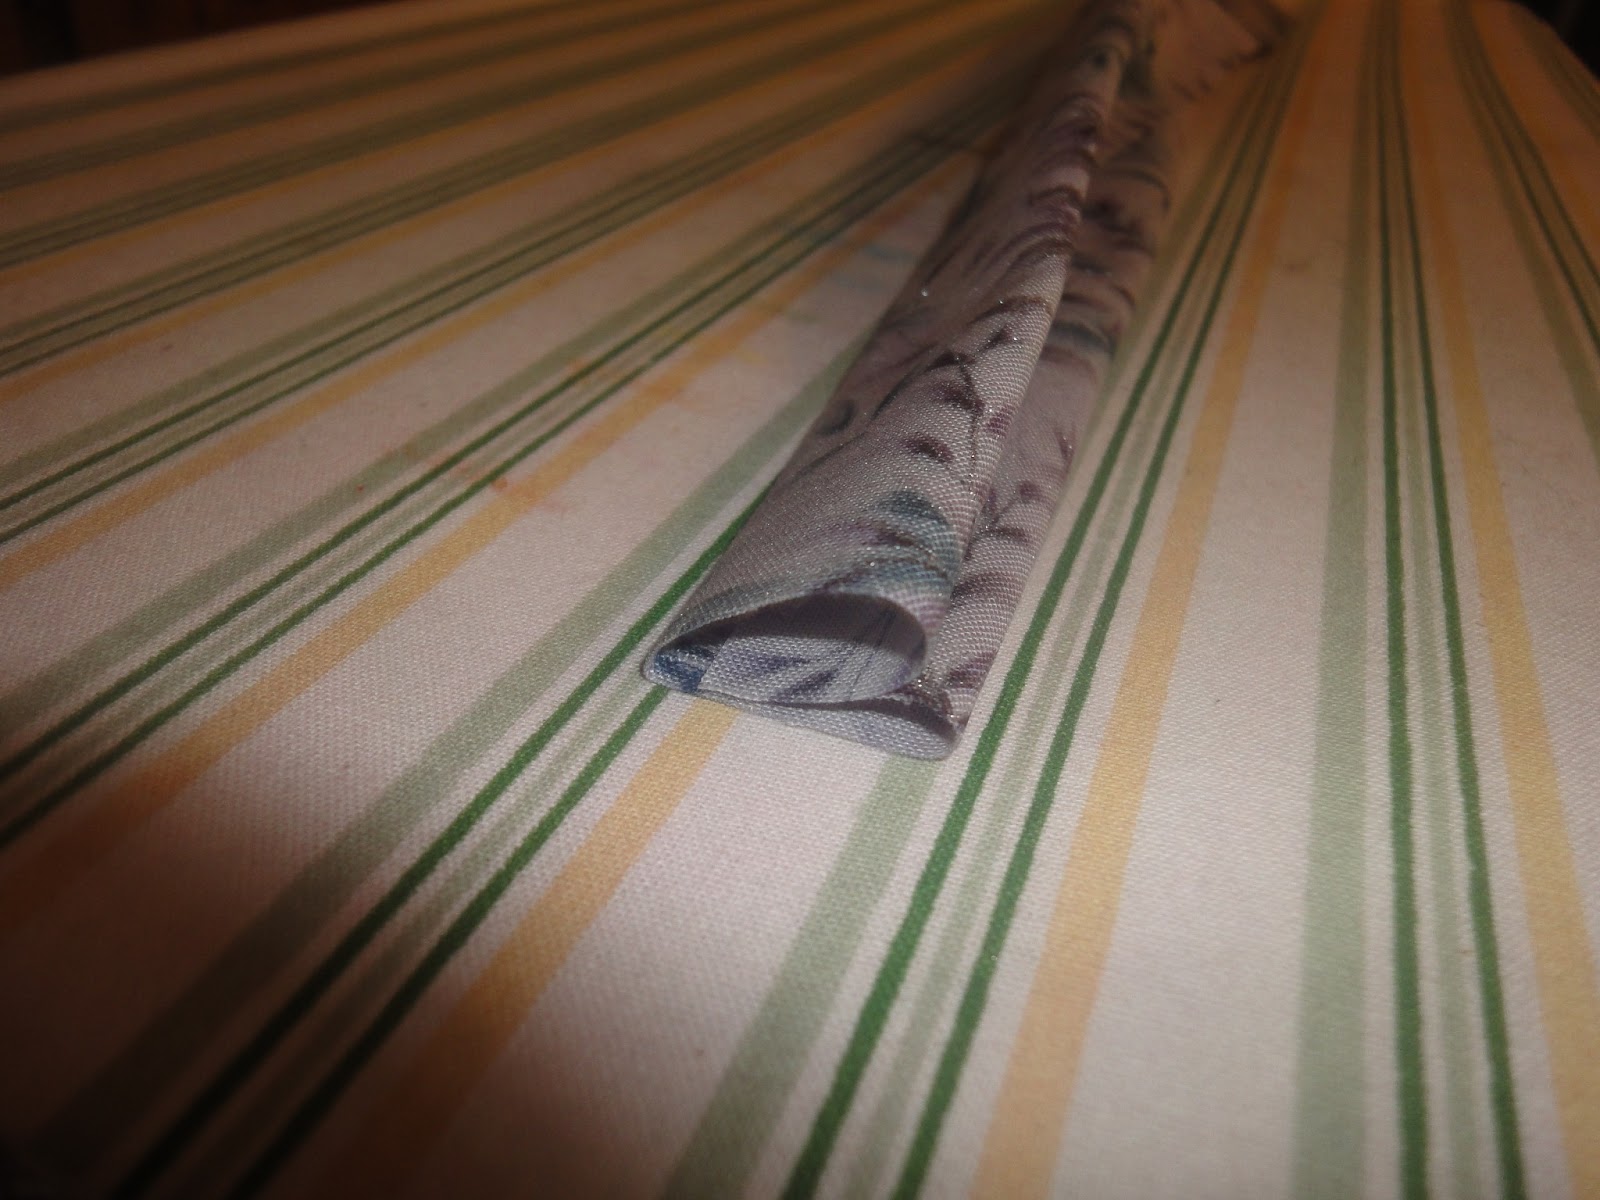
At this point, you will want to open one (and only one - you'll be using the other one to turn the bag) of the 2 inch squares bringing the corners out to make a straight edge and sew 5/8 inch from the edge.


After sewing the first seam 5/8 inch from the edge, sew another 1/8 inch inside that seam.

Only one side is done at this point.

Place the bags one inside the other right sides facing. Match the seams of one bag halfway between the seams of the other bag.

Pin the handles in between the two layers. Mine were three inches to each side of each seam. Check to make sure the handle pieces lay in the same direction so that you handles do not twist in the final bag.

Sew around the top of the bag 1 inch from the edge.

Open the bag and pull the bag all the way through so that you only see right sides.


Almost there. Now at the edge bring the bottom of the inside layer to the edge of the opening. Fold one edge of the opening over the edge of the inside layer (I find it easier to do this with the seamed edge of the opening. Fold the other edge inside touching the other folded under edge.


Topstitch 1/8 inch from the edge and again 1/8 inch from the first seam.

Here are what the two sides of your reversible bag should look like.


I'm a special education teacher and that gift will knock their socks off. Awesome job!
ReplyDeleteI'm glad to hear that. I actually sort of worried about these because lately I've seen a bunch of negative posts about handmade gifts being unwanted by teachers. I like to think mine are different because they are higher quality than those that are being talked about, but I imagine that everyone feels that way.
Delete